Practical Odor Removal Tips for a Fresher Home
Introduction
A fresh-smelling home feels welcoming, healthy, and calm. Yet odors build quietly: a forgotten onion skin in the bin, damp towels after a long shower, or a pet accident you handled quickly but not completely. Effective odor removal is less about spraying a cover scent and more about identifying the chemistry, moisture, and surfaces that hold smells—and then using simple, proven methods to fix them. This article offers a practical framework and room-by-room strategies you can start today.
Outline of This Article
– The science behind household odors and why indoor air matters
– Kitchen sources and stepwise odor control
– Bathroom, laundry, and moisture management
– Soft surfaces, carpets, upholstery, and pet considerations
– Whole-home strategy, maintenance routine, and conclusion
Understanding Odors and Indoor Air: What You’re Really Smelling
Odors are airborne molecules—often volatile organic compounds (VOCs) and sulfur- or nitrogen-containing compounds—that reach your nose in tiny concentrations. In homes, they originate from cooking residues, microbial growth, pets, smoke, drains, and even new building materials that off‑gas. Temperature and humidity amplify the effect: warmth helps molecules volatilize, while higher humidity carries scent more readily. According to widely cited indoor air findings, indoor air can be two to five times more polluted than outdoor air, and in some cases higher, which explains why smells linger longer than you expect.
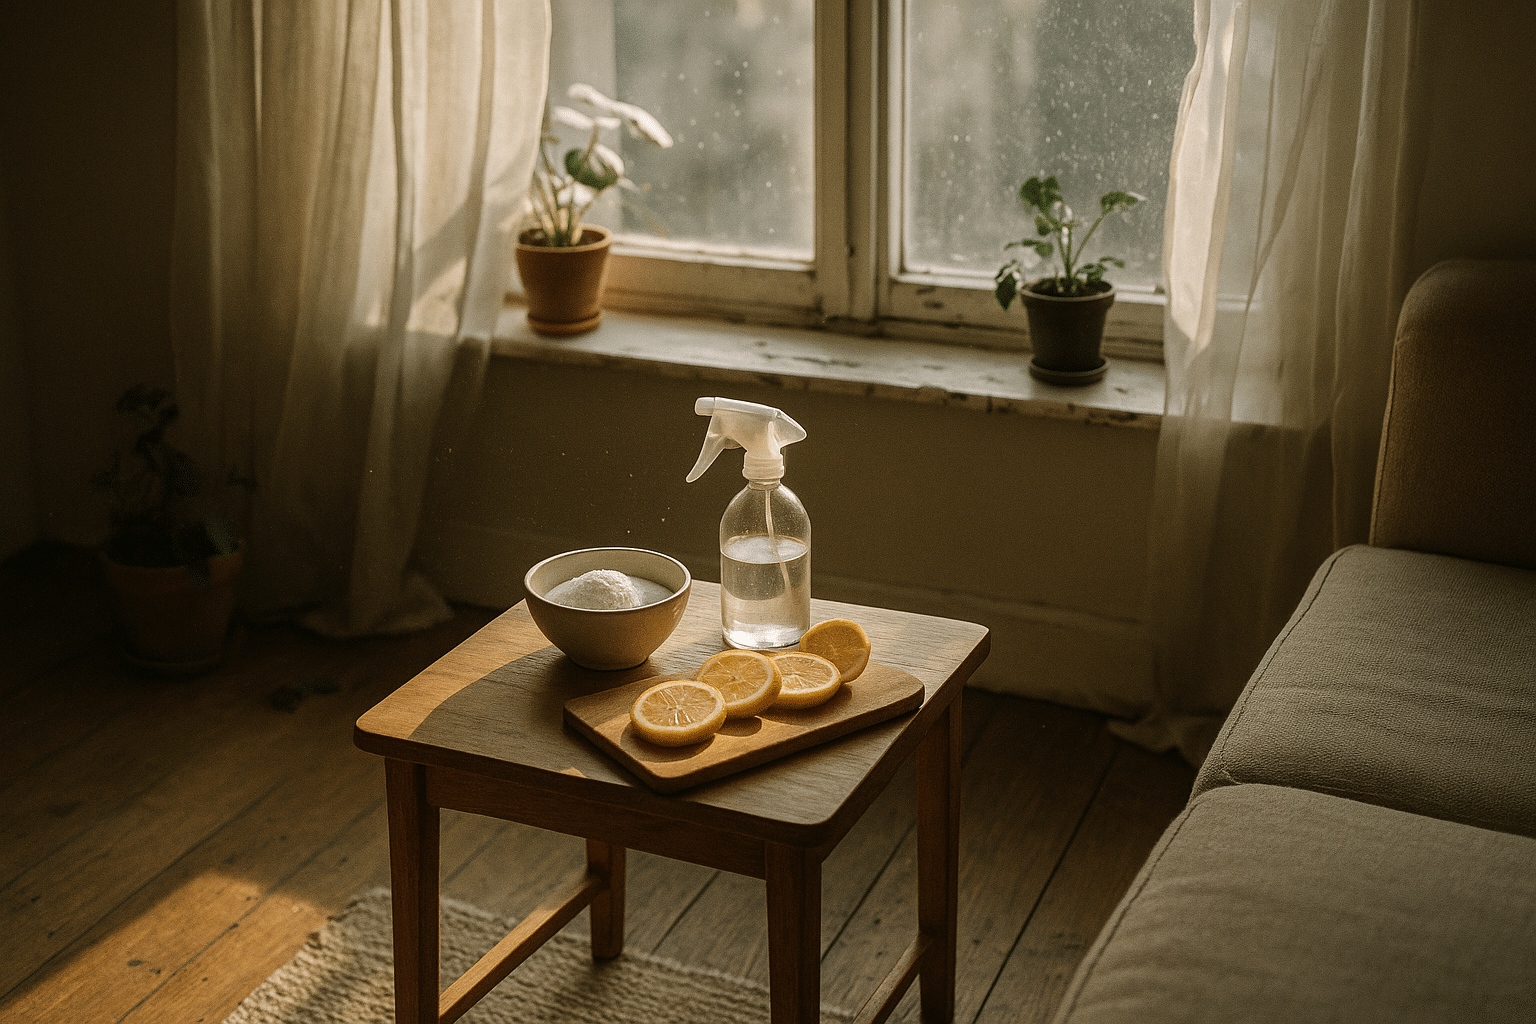
Successful odor removal follows a sequence: remove the source, increase ventilation, capture what’s left, and neutralize at the right surface. Think in layers: solids and liquids (trash, spills, fabric fibers), surfaces (counters, walls, grout), and air (circulating molecules). Mechanical tools help—sealed HEPA filtration captures particles that carry odors, and activated charcoal adsorbs many VOCs. Chemistry matters too: mild acids (like distilled vinegar) can tame alkaline odors such as amines from fish, while mild bases (like baking soda) help with acidic residues. Oxidizers (e.g., hydrogen peroxide solutions) can break down organic odor compounds but should be used with care and proper ventilation.
Use this simple decision path before you reach for a fragrance:
– Source: What exactly produced the smell, and is it still present?
– Surface: Which material is holding it—porous fabric, grout, wood, or air ducts?
– Strategy: Remove, wash, or adsorb? Pick tools that match the surface chemistry.
– Safety: Ventilation first; avoid mixing chemicals; test on hidden spots.
The goal is not to overpower the nose but to reduce the molecules that cause the scent. When you match the method to the source—drying moisture, cleaning biofilms, adsorbing residual VOCs—you’ll notice a cleaner, quieter air quality rather than a perfumed cover‑up.
Kitchen and Cooking Smells: From Prevention to Deep Deodorizing
Kitchens are odor factories because they combine heat, fats, proteins, moisture, and food waste. Cooking releases aerosols that settle as an invisible film on cabinets and walls, trapping “old kitchen” notes. Protein-heavy foods can leave amine and sulfur compounds; acidic rinses help neutralize these. Before you cook, open a window to establish cross‑ventilation and, if available, run a vent hood that exhausts outside. Keeping airflow moving dilutes odors quickly and reduces the amount deposited on surfaces.
Make cleanup systematic. Degrease high‑touch surfaces with hot water and a small amount of mild detergent; for film on cabinet fronts, a mix of warm water and a splash of vinegar cuts grease effectively. Clean the backsplash and the range hood baffle, which often traps smoky smells. For sinks and disposals, flush with very hot water, then add baking soda, followed by vinegar to foam through crevices; after five minutes, chase with more hot water. Food bins and compost pails absorb volatiles—wash them with soapy water weekly and, once a month, disinfect with a diluted bleach solution (never mix bleach with ammonia or acids). Let containers dry completely before re‑lining to prevent musty notes.
Refrigerators deserve special attention. Wipe shelves with a solution of water and vinegar to dissolve sticky residues that hold smells. Store strong‑scented items in sealed containers to limit diffusion. Place a shallow dish of baking soda or a pouch of activated charcoal on a shelf to passively adsorb lingering odors. For pungent cooking episodes, simmer a pot of water with a few citrus peels and cinnamon sticks to help pull aromas into steam, then ventilate the kitchen for 10–15 minutes.
Quick kitchen odor fixes:
– During cooking: open a window; keep lids on high‑splash pans; wipe spills immediately.
– After meals: run hot water down the drain; rinse dishcloths thoroughly; empty the bin nightly.
– Weekly: degrease cabinet fronts and backsplash; wash trash cans; check for expired foods.
These habits prevent build‑up so your kitchen smells like food when you want it to—and like nothing at all when you don’t.
Bathrooms, Laundry Rooms, and Moisture: Stopping Microbial Odors at the Source
Bathrooms and laundry areas challenge noses because they concentrate moisture, warmth, and organic residues—ideal conditions for microbial VOCs that read as “musty.” Control humidity first. Aim for indoor relative humidity around 40–50%; above 60%, mold and mildew gain momentum. Run the exhaust fan during showers and for 20–30 minutes afterward, or open a window to create a pressure path. Squeegee shower walls and glass to remove standing water; drying surfaces rapidly is an odor‑control superpower.
Drains often hide biofilms that smell even when fixtures look clean. Once a week, pour very hot water down the shower and sink drains. Follow with 1/2 cup baking soda and 1 cup vinegar; let the foam work for 10–15 minutes, then flush with hot water. If a sink or floor drain goes unused, its P‑trap may dry out, letting sewer gas seep inside; add a cup of water (and a teaspoon of mineral oil to slow evaporation) to reseal it. For toilet bases, check the wax ring if persistent odors return after cleaning; mechanical issues allow leakage that no cleaner can solve.
Laundry rooms contribute odors in two ways: the textiles themselves and the washer. Towels that don’t dry fully can smell sour; wash them hot periodically, and dry completely with good airflow. For the machine, run a maintenance cycle monthly with washing soda or vinegar to dissolve soap scum that feeds microbes. Avoid detergent overdosing; excess surfactant lingers in fabric and the machine, creating a humid, sticky film where bacteria thrive. Leave washer and dryer doors open between loads to ventilate.
Targeted bathroom checklist:
– Daily: ventilate after showers; hang towels spread open.
– Weekly: clean drains and squeegee grout lines; launder bath mats on hot.
– Monthly: descale showerheads with vinegar; run a washer clean cycle; inspect caulk for cracks.
Address moisture, and the odors fall in line. By keeping humidity in check, clearing biofilms, and ensuring fixtures drain and dry properly, you replace “closed‑in” air with a light, neutral background that never calls attention to itself.
Fabrics, Carpets, Upholstery, and Pets: Deodorizing the Surfaces that Hold Scents
Soft materials act like odor sponges. Carpets, rugs, drapes, and upholstery trap oils, smoke particles, dander, and the faint remnants of spills. Start by removing particulate matter: vacuum slowly with a machine that uses a sealed HEPA system to minimize re‑emission of fine particles. Sprinkle baking soda lightly over carpets and let it sit for 30–60 minutes before vacuuming to absorb acidic notes. For area rugs, weather permitting, take them outside for a thorough shake and a few hours of fresh air; sunlight helps break down some odor compounds but avoid extended exposure for delicate fibers.
When accidents happen—especially pet urine—speed is everything. Blot (don’t rub) to remove as much liquid as possible, then treat with an enzyme cleaner formulated for organic stains to break down uric acid crystals that can re‑odorize when humidity rises. If a room still smells after surface cleaning, the padding may be affected. In that case, lift the carpet at the corner, replace contaminated padding, and treat the subfloor with an appropriate sealant once dry. For upholstery, spot‑test any solution in an inconspicuous area; materials vary from natural fibers to synthetics, and water‑based methods may damage certain labels.
Closets and storage can harbor stale notes. Add breathable containers, avoid overpacking, and place small sachets of activated charcoal to adsorb VOCs. If a new sofa or mattress has a “new” smell, ventilate the room well for 48–72 hours; off‑gassing diminishes significantly with fresh air and time. Steam cleaning or hot‑water extraction can rejuvenate carpets and fabric, but ensure rapid drying with fans and ventilation to avoid a wet, musty aftermath.
Signals that odor is in deeper layers:
– Scent intensifies with humidity or after mopping nearby floors.
– Smell persists near baseboards and under furniture, not just on top surfaces.
– A small test patch improves odor locally while the rest remains unchanged.
By pairing particle removal, targeted chemistry, and proper drying, you neutralize what fabrics have quietly collected and make rooms feel brighter without heavy fragrances.
Whole‑Home Strategy, Maintenance Routine, and a Practical Conclusion
Odor control succeeds when it becomes a routine, not a rescue mission. Build a plan that blends prevention, quick hits, and periodic deep care. Start with a walk‑through to pinpoint recurring sources: overflowing bins, a humid basement, a pet’s favorite corner, a draft‑starved kitchen. Establish an airflow baseline by opening windows daily when weather allows, even for five minutes; this quick exchange resets the indoor mix and dilutes lingering compounds that filtration alone may miss.
Create a realistic schedule:
– Daily: empty kitchen trash; ventilate bathrooms after use; dry towels and sink mats; open a window for an air change.
– Weekly: wash bins; degrease kitchen touchpoints; vacuum carpets and upholstery; clean drains; launder bath textiles on hot.
– Monthly: deep‑clean the fridge; run washer maintenance; refresh charcoal pouches or baking soda dishes; check for moisture intrusion in basements and under sinks.
– Seasonally: service HVAC filters; consider a professional deep‑clean for carpets or ducts if persistent odors remain.
Stock a small, dependable kit: baking soda, distilled vinegar, mild detergent, an enzyme cleaner for organic messes, microfiber cloths, a stiff brush, nitrile gloves, and activated charcoal sachets. Favor fragrance‑free products if sensitivity is a concern; a neutral home should smell like nothing at all. Be cautious with aggressive oxidizers and avoid ozone devices in occupied spaces; they can irritate lungs and damage materials. If a smell survives every household tactic, investigate for hidden moisture, pest activity, or mechanical issues—a persistent sewer note could indicate a dried trap, cracked vent stack, or failed seal that needs repair, not deodorizer.
Conclusion for homeowners, renters, and pet families: clean air is achievable with steady habits and smart sequencing. Identify the source, match the method to the material, ventilate generously, and verify results the next day with a “fresh nose” check after some time outdoors. Odor control, done this way, saves effort, preserves surfaces, and makes your space welcoming without a cloud of perfume. Start with one room this week, build momentum, and let a calmer, cleaner atmosphere become your home’s quiet signature.