Homemade Carpet Cleaner Solutions to Help Remove Stains
Outline:
– The chemistry of stains and fibers: why DIY cleaners work
– Core pantry formulas and ratios
– Stain-by-stain instructions
– Techniques, tools, and drying
– Safety, testing, and maintenance conclusion
Why Homemade Carpet Cleaners Work (and When They Don’t)
Homemade carpet cleaners succeed not because they are mysterious, but because everyday ingredients map neatly onto the chemistry of stains. Most carpet messes fall into several families: tannins (coffee, tea, wine), proteins (milk, blood), lipids (cooking oil, lotion), dyes (juice, sauces), and particulate soil (mud, dust). Stains cling through forces like hydrophobic attraction and hydrogen bonding, and they anchor within carpet fibers—typically nylon, polyester, olefin, or wool—each with different tolerance for pH, heat, and moisture. DIY ingredients target these bonds: surfactants in mild soap loosen soils; acids like white vinegar (pH ~2–3) neutralize alkaline residues and help with mineral and tannin-related discoloration; mild alkalis like baking soda (pH ~8.3) aid in deodorizing and can assist grease removal; oxidizers such as 3% hydrogen peroxide break down color-causing chromophores. Done right, these tools let you coax stains out rather than grind them in.
However, there are limits. Over-wetting can swell the carpet’s backing, promote wicking (a stain that mysteriously “returns”), and lengthen drying time enough to risk odors or mildew. Wool is sensitive to high pH and strong oxidizers; silk dislikes water and agitation; olefin resists many stains but can mat when overworked. Dark, richly dyed carpets may lighten if exposed to undiluted oxidizers, and some red dyes hang on stubbornly due to strong fiber affinity. The golden rule is to test first and work from mild to stronger methods. A simple colorfastness check—apply your solution to a hidden area, press with a white cloth for 10–15 seconds, and look for dye transfer—can save a headache.
When readers ask why a splash of vinegar or a sprinkle of baking soda can be so effective, the short answer is that you are nudging the stain’s chemistry back toward neutrality and solubility. A practical approach is to match the remedy to the mess: a little acid for coffee, a little alkali and surfactant for grease, gentle oxidizer for stubborn discoloration. Think of it as stain diplomacy: persuade, don’t overpower. And remember that patience—measured contact time, careful blotting, and thorough rinsing—often matters more than force.
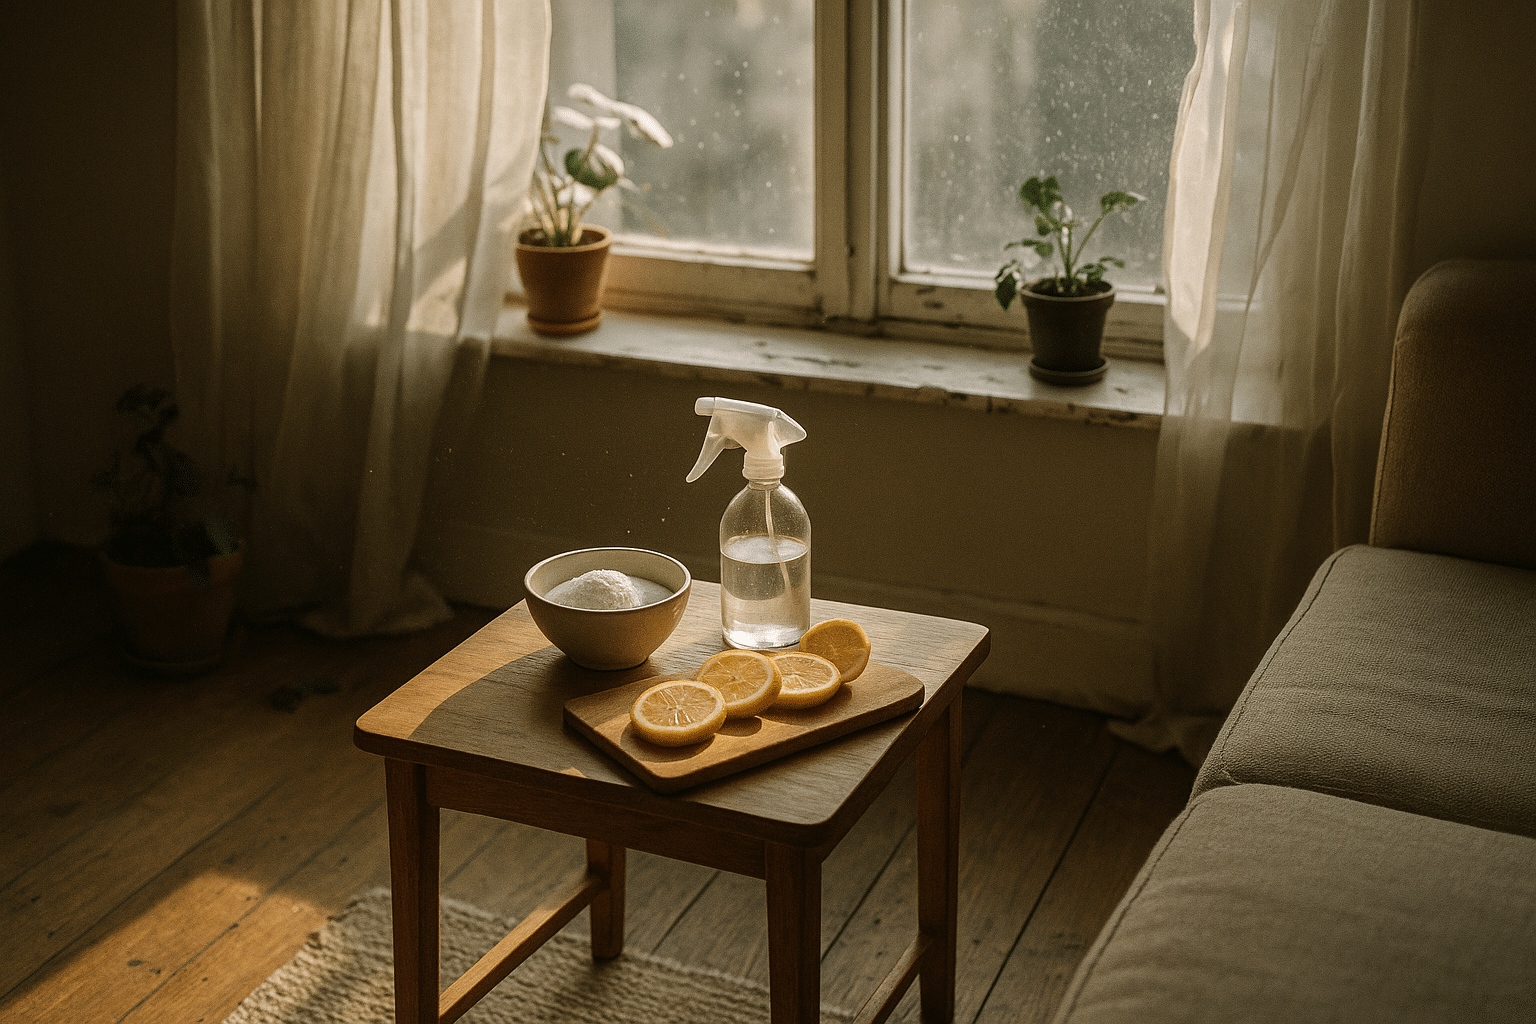
Core Pantry Formulas and Ratios You Can Mix in Minutes
Convenient ingredients can be combined into targeted solutions. The aim is to keep formulas simple, fresh-mixed, and gentle enough for repeated use. Use room-temperature or slightly warm water unless noted, and label your spray bottles so you never reach blindly for the wrong mixture. Make only what you’ll use in a day or two; hydrogen peroxide and club soda lose potency over time, and scented soaps may leave residues if too concentrated.
Here are reliable, versatile recipes and where they shine:
– Neutral spot cleaner (everyday soil): 1 cup warm water + 1/2 teaspoon mild liquid soap. Mix gently to avoid suds, mist onto stain, blot, and rinse with plain water.
– Vinegar solution (tannins, mineral traces, deodorizing): 1 cup water + 1 cup white vinegar. Mist lightly, let dwell for 5–10 minutes, blot, and rinse. Avoid on natural stone floors adjacent to carpet.
– Oxygen booster for light-colored, synthetic fibers (oxidizable stains): 1 part 3% hydrogen peroxide + 1 part water + 2–3 drops mild soap. Apply sparingly, observe for fizzing, blot, then rinse thoroughly. Do not use on wool, silk, or very dark fibers without a test.
– Grease cutter (oils and oily makeup): 1 cup warm water + 1 teaspoon mild liquid soap + optional 1/2 teaspoon baking soda. Agitate gently, apply, tamp lightly with a cloth, and rinse.
– Baking soda deodorizer (after liquid cleanup): Sprinkle a thin, even layer over the area, allow 4–12 hours to absorb odors and moisture, then vacuum thoroughly.
– Salt or cornstarch dry lift (fresh wine or grease): For wine, cover fresh spill with table salt; for grease, use cornstarch or unscented talc. Let sit 10–30 minutes, then vacuum before wet cleaning.
– Alcohol dab (ink, some dyes): Lightly dampen a cotton swab or white cloth with isopropyl alcohol (70%), dab from the edge inward, rotate to a clean area of cloth frequently, then rinse with water. Test first.
Comparing these options:
– Acids (vinegar) help with tannins and deodorizing but can’t dissolve oils.
– Alkaline aids (baking soda) support odor control and mild saponification of fats but may leave residue if not vacuumed well.
– Surfactants (soap) reduce surface tension, letting water pry soils free; overuse can attract soil later, so rinse until the rinse water is clear.
– Oxidizers (peroxide) can brighten by breaking color bonds but must be used conservatively.
By aligning the stain type to the chemistry, you maximize effect while minimizing risk.
Stain-by-Stain Playbook: Coffee, Wine, Grease, Pets, Mud, and More
Every spill tells a story; your job is to interrupt the plot before it sets in the fibers. Move quickly, blot generously, and keep heat away until you’re sure the stain is gone—heat can set proteins and some dyes. Here is a simple roadmap for common household mishaps.
Coffee or tea (tannins):
– Blot immediately with a dry, white cloth; avoid rubbing.
– Apply the vinegar solution (1:1 vinegar to water); let dwell 5 minutes.
– Blot, then apply neutral spot cleaner to lift remaining residue.
– If faint discoloration remains on light synthetic fibers, dab with diluted peroxide (1:1 with water), then rinse thoroughly.
Red wine (tannins and dyes):
– Blot; cover fresh spill with salt to draw out liquid; vacuum or lift salt after 10–20 minutes.
– Mist with club soda if available, then blot again.
– Follow with vinegar solution, then neutral cleaner, finishing with a water rinse.
– For lingering pink shadows on light synthetics, a brief peroxide dab may help; test first.
Grease and oil (hydrophobic):
– Sprinkle cornstarch or baking soda to absorb; wait 15–30 minutes, then vacuum.
– Apply grease cutter (warm water + mild soap + optional baking soda), tamp gently with a cloth.
– Rinse thoroughly and blot dry; repeat if needed, addressing halos at the edges.
Pet accidents (enzymatic/protein and odor):
– Remove solids with a dull scraper; blot liquids with pressure using folded towels.
– Mist vinegar solution to neutralize odor acids; blot.
– Apply neutral spot cleaner; work from edges inward.
– Deodorize with a light layer of baking soda once the area is barely damp; let dry fully and vacuum.
– Persistent odor in backing may require an enzymatic treatment; if DIY options underperform, consider an enzyme-based product and deep extraction by a professional.
Mud and tracked soil (particulate):
– Let dry completely; resist the urge to scrub wet mud.
– Vacuum slowly in multiple directions to lift grit.
– Treat remaining marks with neutral spot cleaner; blot and rinse with water.
– Finish with a dry towel press to remove moisture.
Blood (protein):
– Blot with cold water only; warm water can set the stain.
– Use a saline approach (1/2 teaspoon salt in 1 cup cold water), dab and blot.
– For light synthetics, a cautious peroxide dab can help; avoid on wool and test carefully.
– Rinse and press dry.
Ink and marker (dyes/solvents):
– Lightly touch with isopropyl alcohol on a white cloth, dabbing—not dragging—from the outside inward.
– Rotate to clean cloth areas frequently; finish with a water rinse and blot dry.
These sequences emphasize minimal chemistry with maximum patience, letting capillary action, dwell time, and gentle oxidation do the heavy lifting.
Technique, Tools, and Drying: Getting Pro-Level Results at Home
Technique transforms simple ingredients into reliable results. The core moves are uncomplicated: blot, dwell, rinse, and dry. Use white, lint-free cloths or microfiber so you can monitor transfer. A flexible plastic scraper helps lift solids without cutting fibers. A spray bottle provides fine control—mist, don’t flood. A wet/dry vacuum accelerates extraction and shortens drying times, reducing the risk of wicking (the reappearance of a brownish halo as moisture rises from the backing).
Smart workflow:
– Pre-vacuum dry soil around the spot; grit behaves like sandpaper and can damage fibers if rubbed in.
– Pre-test the solution in a hidden area; wait a minute for delayed reactions.
– Apply cleaner sparingly; too much liquid pushes soil downward.
– Allow 3–10 minutes of dwell time unless the fiber is delicate; agitation should be minimal, using the cloth’s nap rather than hard scrubbing.
– Rinse with plain water until a fresh cloth stays clean; residues attract soil.
– Press with stacked towels or use a wet/dry vacuum to remove as much moisture as possible.
– Speed-dry with airflow: a fan or cross-breeze reduces dry time and odor risk.
Machine notes: If you own a portable extractor, consider a “pretreat and rinse” method—spot-treat with DIY solutions by hand, then rinse with plain warm water in the machine. This keeps residues low and protects pump seals that may dislike acidic or high-foam mixes. Avoid adding vinegar or strong alkalis directly to machine tanks unless your user manual explicitly allows it. When drying, aim for cool to moderate air movement rather than heat; excessive heat can cause shrinkage in natural fibers or exacerbate browning on cellulose-backed rugs.
Common pitfalls include scrubbing (frays and fuzzing), impatience (insufficient dwell time), and skipping the rinse (sticky residues). Another subtle mistake is ignoring the boundary of the spill; always feather your cleaning a couple of inches beyond the visible stain to prevent a hard edge. Finally, pause if something seems off—odors, dye transfer, or unusual stiffening can be signs to adjust your method, dilute further, or consult a professional for specialty fibers.
Safety, Testing, and Long-Term Maintenance (Plus a Practical Conclusion)
Safety starts with testing and moderation. Always ventilate when using alcohol or peroxide, wear gloves if you have sensitive skin, and keep all solutions out of reach of children and pets. Wool and silk require extra caution: avoid high pH cleaners, strong oxidizers, and aggressive agitation. For dark or richly dyed rugs, assume they are prone to color transfer until a test proves otherwise. Never mix ammonia with peroxide or chlorine-based products; although these aren’t typical in the recipes above, it’s good practice to keep cleaning chemicals separate. Store your ingredients in their original containers, mix small batches, and discard unused peroxide solutions within a day or two as they lose strength.
Preventive care saves work. A weekly or biweekly vacuum routine, slow passes in multiple directions, and immediate blotting of fresh spills are worth more than any miracle formula. Entry mats reduce tracked soil dramatically. Rotating area rugs evens out sun exposure and wear. Schedule a periodic deep rinse extraction—either DIY with plain water or through a qualified service—to remove residues that routine spot cleaning leaves behind. As a rule of thumb, low-traffic rooms may need annual deep cleaning, while busy family zones benefit from twice-yearly attention.
Cost and environmental angles are encouraging. A quart of neutral spot cleaner mixed at home often costs well under a dollar, vinegar solutions even less, and a box of baking soda can cover months of deodorizing. Fewer ingredients mean fewer fragrances and solvents in the air, and mixing small, fresh batches keeps performance high while minimizing waste. Just as importantly, using simple chemistry encourages thoughtful, measured cleaning instead of blanket application.
Conclusion for homeowners, renters, and pet parents: You don’t need a cupboard full of specialized products to rescue a carpet from everyday life. With a short toolkit—white cloths, a couple of spray bottles, a scraper, and a wet/dry vacuum if available—and a handful of carefully chosen recipes, you can solve most stains calmly and quickly. Match the solution to the stain, test before you leap, rinse like a pro, and dry with purpose. Do that, and your carpet can look well-cared-for, resilient, and ready for whatever the week brings.